How to photograph the Northern Lights Updated June 2022
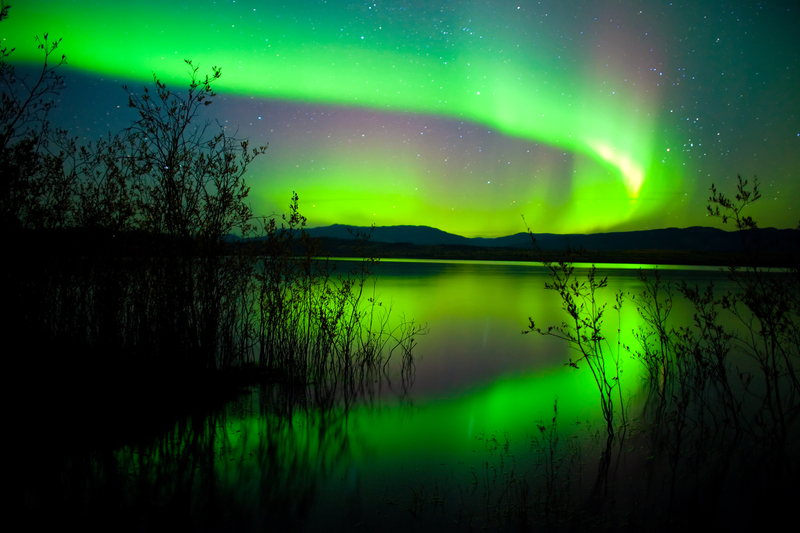
The Aurora Borealis, or Northern Lights, is a stunning wonder of nature. To see them is marvellous beyond words. But many people are not content with seeing them. Naturally, they want a photograph to remind themselves later on of the beautiful thing they have witnessed. There are many photos of the Aurora Borealis on the internet, but nothing is as good as your own photo. If you have never seen it, you should come. I hope this article will help you get good pictures.
Photograph Aurora Borealis
Photographing the Aurora Borealis is not simple, like taking a snapshot of a car in your driveway. It is a little more complicated than that. Here is how to do it:
What you Need
1. For the best photos of the Aurora Borealis, you need a camera with changeable lenses. Then it would be best if you had a wide-angle lens in the range of 18 to 35 mm. Remove any filters that you might have on the lens. Put on a lens hood if you have one. This will protect the glass from frost and condensation. Ensure that the lens hood is the correct one for your lens. If it is too long, you will see it in the photos. Take some practice shots beforehand.
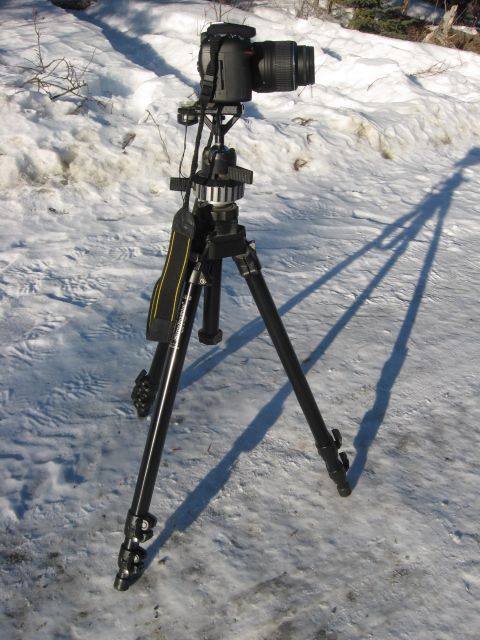
2. You will need a tripod.
3. A viewfinder cover (the little window on the back of your camera that you look through).
4. A small flashlight so you can see what you are doing with the settings
Settings
Here are the settings for your camera:
1. Set the mode dial to manual photography.
2. Set the aperture to F4.
3. Set the time to 30 seconds.
4. Set the ISO to 500.
5. If your camera has the capability, set the type of photo to get one of jpeg and raw. For each click, you will get two images. Jpeg photos are condensed and better for uploading to the internet, but some details are omitted. Raw images contain all the elements that your camera sees. They are much larger than jpeg photos. Raw photos are better to work with later, adjusting the brightness and contrast. They can be converted to jpeg. You will have to download a raw to jpeg converter on the internet.
6. Set Long Exposure Noise Reduction to ON.
7. Set White Balance to Auto.
These suggested settings are average for the Northern Lights. Results will vary. Some nights the lights are much brighter than others. Also, any other light source, such as the moon, will affect the photo. You may need to adjust these settings, but it is a good starting point. I suggest you practice some night photography before photographing the Aurora.
Focusing
If an object in view is bright enough, focus on that. If not, set focus to manual and infinity. This is because autofocus may not work well in the dark unless there is some bright object for it to see.
Composure
The Northern Lights are beautiful; however, including a small amount of landscape in the photo is also beneficial. This will add to the scenic view and also shows the scale of the light show when there is something to compare it to. A small strip of land across the bottom of the photo is sufficient, leaving most of the frame for the lights. Make sure there is nothing ugly in your photos, such as a building, telephone or power pole. A little cabin or an old wooden fence is nice. If there is nothing available, a row of trees or bushes will do. You don’t want trees or mountains too close to your position. They are nice in the distance.
The photos
Find the best part of the lights and aim your camera. Trigger the camera with remote control or a cable release if you have this capability. If not, gently push the button with your finger but do not touch the camera during the 30-second exposure. This is why the camera must be on a tripod. It is impossible to hand hold the camera still enough and long enough with such low light conditions.
If there is any light behind you or a full moon, cover the viewfinder with the little plastic cover that came with the camera when you purchased it. If you have lost this tiny thing, as many people have, a piece of thick, dark tape will do to cover the opening. Light entering the rear of your camera through the viewfinder will affect the results.
Make sure that no one walks in front of the camera and that no one is using a flashlight.
The settings that I suggested are average for the Northing Lights. If the lights are brighter or dimmer than usual, make the exposure shorter or longer as needed or adjust the ISO. Personal preference also enters the calculations. Take a look at your first photo; if it is too dark or too light for your liking, adjust the timed exposure accordingly.
Also, later, your photos can be made a little brighter on the computer.
Afterwards
When you are finished, put your camera into a plastic bag or container before entering a warm building. This will prevent condensation from forming on the camera.